ASSIGNMENT 3 1. FINISHES The bowl, tray, torus and blister were all finished in form to a sound level however the finishes of said four pieces were underwhelming. I attempted to sand the toros but eventually gave up. I was unaware at this stage of the ability of the sandpaper to be exceedingly more useful when wet and so I had only attempted a single grit, dry paper to sand the aluminium, resulting in uneven surfaces. The finish of project two, the motorbike tank, can be contrasted to that of my first projects in regards to finish as I spent a substantial amount of time sanding this with three different grits of sandpaper and also used the sandpaper wet to enhance the outcome. This can be seen in the following photos that show an advancement in the finishes of project 1 to project 2. 2. RELATIVE TO INTERIOR ARCHITECTURE The skills that I was able to obtain during the Digital Making 0014 course were extensive. The ability to learn how to form and mould metal into objec
Posts
MOTORBIKE ENGINE SHELL ASSIGNMENT 2
- Get link
- X
- Other Apps
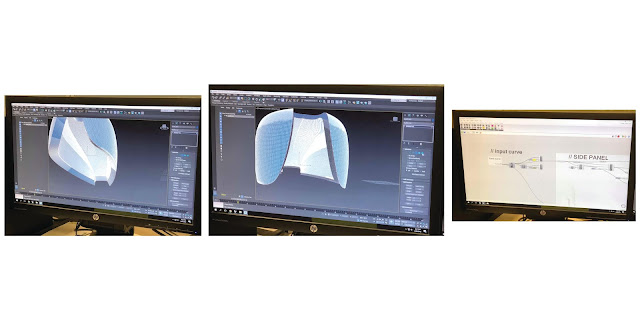
GRASSHOPPER/RHINO The first step in achieving the outcome of the motorbike engine shell was to use the programs of rhino and grasshopper which would create a mould to work off. These programs proved to be a challenge within our group as no-one had used them before. We played around with the programs for a while and also asked fellow peers to lead us in the right direction, Russell eventually decided to show us how to use the program, grasshopper being used as the equation behind what was shown in rhino. Once we had the ability to use rhino ourselves we exported the file and imported it into the program 'slicer' which enabled us to dissect the mould into a grid like shape with x and y axes. We made the gaps that the x and y would slot into at 3.8mm and our material of plywood was set at 3mm. This close proximity in sizing made it tricky at times when it eventually came to slotting the pieces into one another, but we managed. LASERCUTTING Once we had the file in slice